a "been-there" mom of six offers encouragement
to wives, young mothers, and those not so young,
and simple common-sense approaches to
the "ings" of life:
child-rearing (hints and helps), homemaking (all areas),
cooking (simple, cheap, and do-it-yourself)
making (toys and gifts), preparing (for the unexpected),
maintaining (sanity and peace in this increasingly crazy world) and more---
all aspects of making the most of making do on little---
and having fun in the process.

Tuesday, July 23, 2013

Save Big by Making Your Own "Individual Servings"

We are nearing the end of summer. Time to gear up for the start of another school year. 

If your kids bring their lunches from home, or if you do, and you want to cut down on the food budget the following will show you how to . . .


  spend a little time to save a LOT of money!

Every time we enter a grocery store we see more and more "individual serving" type products. 

Companies would have us believe they spend zillions of $$$ making things easier for us. In reality they spend those zillions trying to convince us we don't have the time nor the know-how to do things for ourselves ---luring us into dependency on pre-packaged, portion-sized this and that. 

I compared the price of food items that might be included in a "brown bag" lunch. 


The foods were identical in brand and quantity with the only difference being the type of packaging.

The lunch comprised of individual pre-packaged servings cost $3.88. 

The lunch made up from regular-sized packages re-packaged in per serving quantities at home cost $1.60

I'll do the math!

$3.88 - $1.60 = $2.28 SAVINGS per lunch
$2.28 X 5 days per week = $11.40 SAVINGS per week per lunch

Now you do the math

$11.40 X number of lunches you pack each week = $______________SAVINGS EACH WEEK!

If this sounds like a wise practice but you don't think you have the time

Find ways to make time!

  • Let the kids help ---- approach it with enthusiasm and they will be eager
  • Enlist the help of your spouse and make it a family activity
  • Take the required time away from your electronic attractions (or are they distractions?)
  • Consider what you could do with the savings
If you still don't feel you can find or make the time, do it once and time it so you can see how little time it actually takes ---- especially compared to the money savings.

If you are into the other kind of green savings (the environmental) think of the reduction in packaging waste.

At this point, consider again the motivating factors behind the pre-packaged items:  Is it for our convenience or for their greed?

If you want to save even more money and are willing to spend a little more time,  you can make some of these brown-bag items yourself and portion package them yourself --- providing the great additional benefit of eliminating  the additives and preservatives increasingly added to commercial food.

I'll give (or re-give) you some simple recipes in my next post.


Friday, July 19, 2013

Are We Spending our Valuable Time on What we Value Most?

When all is said and done --- 
the Best Things in Life are Not Things ---

and while I admit many of my posts have been about things, hopefully they have been good things.  

I have taught a variety of  subjects dealing with self-reliance in a variety of formats for 45 years. For the past two years (and over 300 posts) I have shared what I have learned as Simply, Gail---the Creative Cheapskate. 

My goals have been (and still are) to

  •  present a variety of helpful, practical and valuable ideas and thoughts in a variety of practical, thoughtful, and engaging ways----with humor added to the mix.  
  • provide direction in the areas of  couple-hood and parenthood in these increasingly difficult times; times when time is increasingly difficult to find.
  • help you learn how to rely less on commercial products and more on your own ingenuity. 
  • offer ideas for getting by in often less than favorable circumstances.
  • prepare you for emergencies when our normal resources are disrupted or . . . gone
  • make each post valuable to someone---and hopefully many.

There are too many electronic distractions these days that compete for our time.  I try not to get caught up in what I call "the thick of thin things" and I fear for those who spend most of their time in that thickness.


Not all, but most of my most popular posts are the ones on husband-wife relationships and parenting. This is rewarding, because, again,  when all is said and done, family and "real" things are the most important things. 

Food for Thought

Wouldn't it be wonderful if we were as eager to fill our souls as we are to fill our stomachs?

Simple and free, yet priceless, things we can do

  • Start each day with a nourishing book: Spend a few minutes reading the Scriptures and communicating with your Heavenly Father or whoever your higher power is.
  • Conscientiously seek to balance your spiritual intake: Choose the good and the uplifting and the wholesome over the things of little or no lasting value or satisfaction
  • Count your blessings and fill your hours with the things that count
  • Include large portions of patience, forgiveness and good humor
  • Don't ration your servings of compassion, kindness and charity
  • Try to eliminate negativity, judgement, gossip and criticism: (One of the quickest ways to lose weight is to take the chip off your shoulder!)
  • Weigh your thoughts and values more frequently than your weight
  • Make it a habit: Take stock and renew each Sabbath Day, even if you can't make it to a/your house of worship
  • View your glass as half full or half empty ---- the choice is yours!
While our world does not know peace, Jesus has promised His peace to each of us.

Peace I leave with you, my peace I give unto you; not as the world giveth, give I unto you. Let not your heart be troubled, neither let it be afraid. 
                                                                   John 14:15

          I know from personal experience that even when there are things you absolutely cannot change, you can change a lot by simply changing your attitude and your focus.

          I am Simply, Gail and I try to keep life as simple as possible.


Tuesday, July 16, 2013

Quiet Book Page 2 -- The Desert Snake

Quiet book pages can be very simple. Or not so . . .  
the choice is yours.  

I found a very cute coiled felt snake while searching the internet.  He is very basic ---                    a simple green snake with button eyes and a felt tongue. I love him.
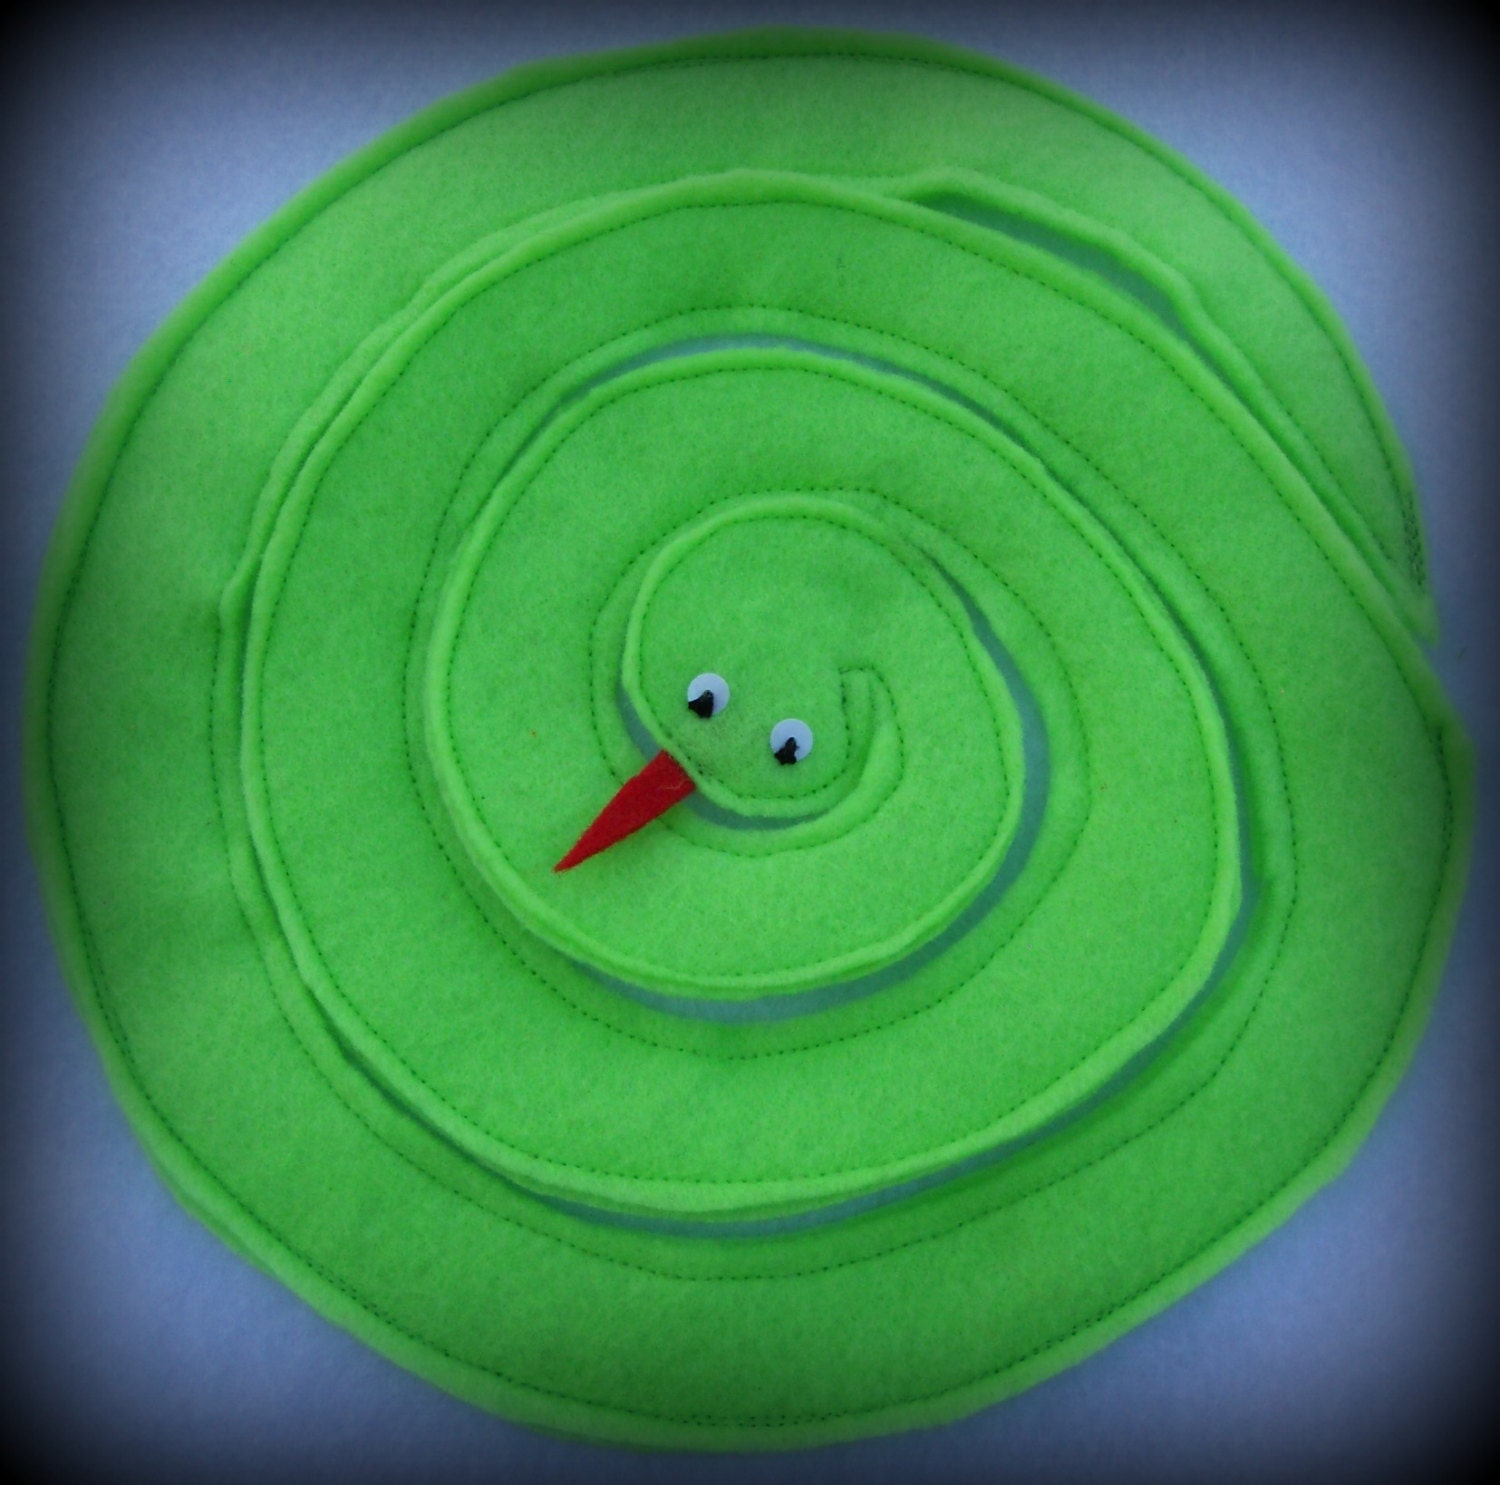
Snake Page for Create Your Own Quiet Book
The end of his tail was fastened to the unadorned background page so he could be uncoiled  and recoiled.
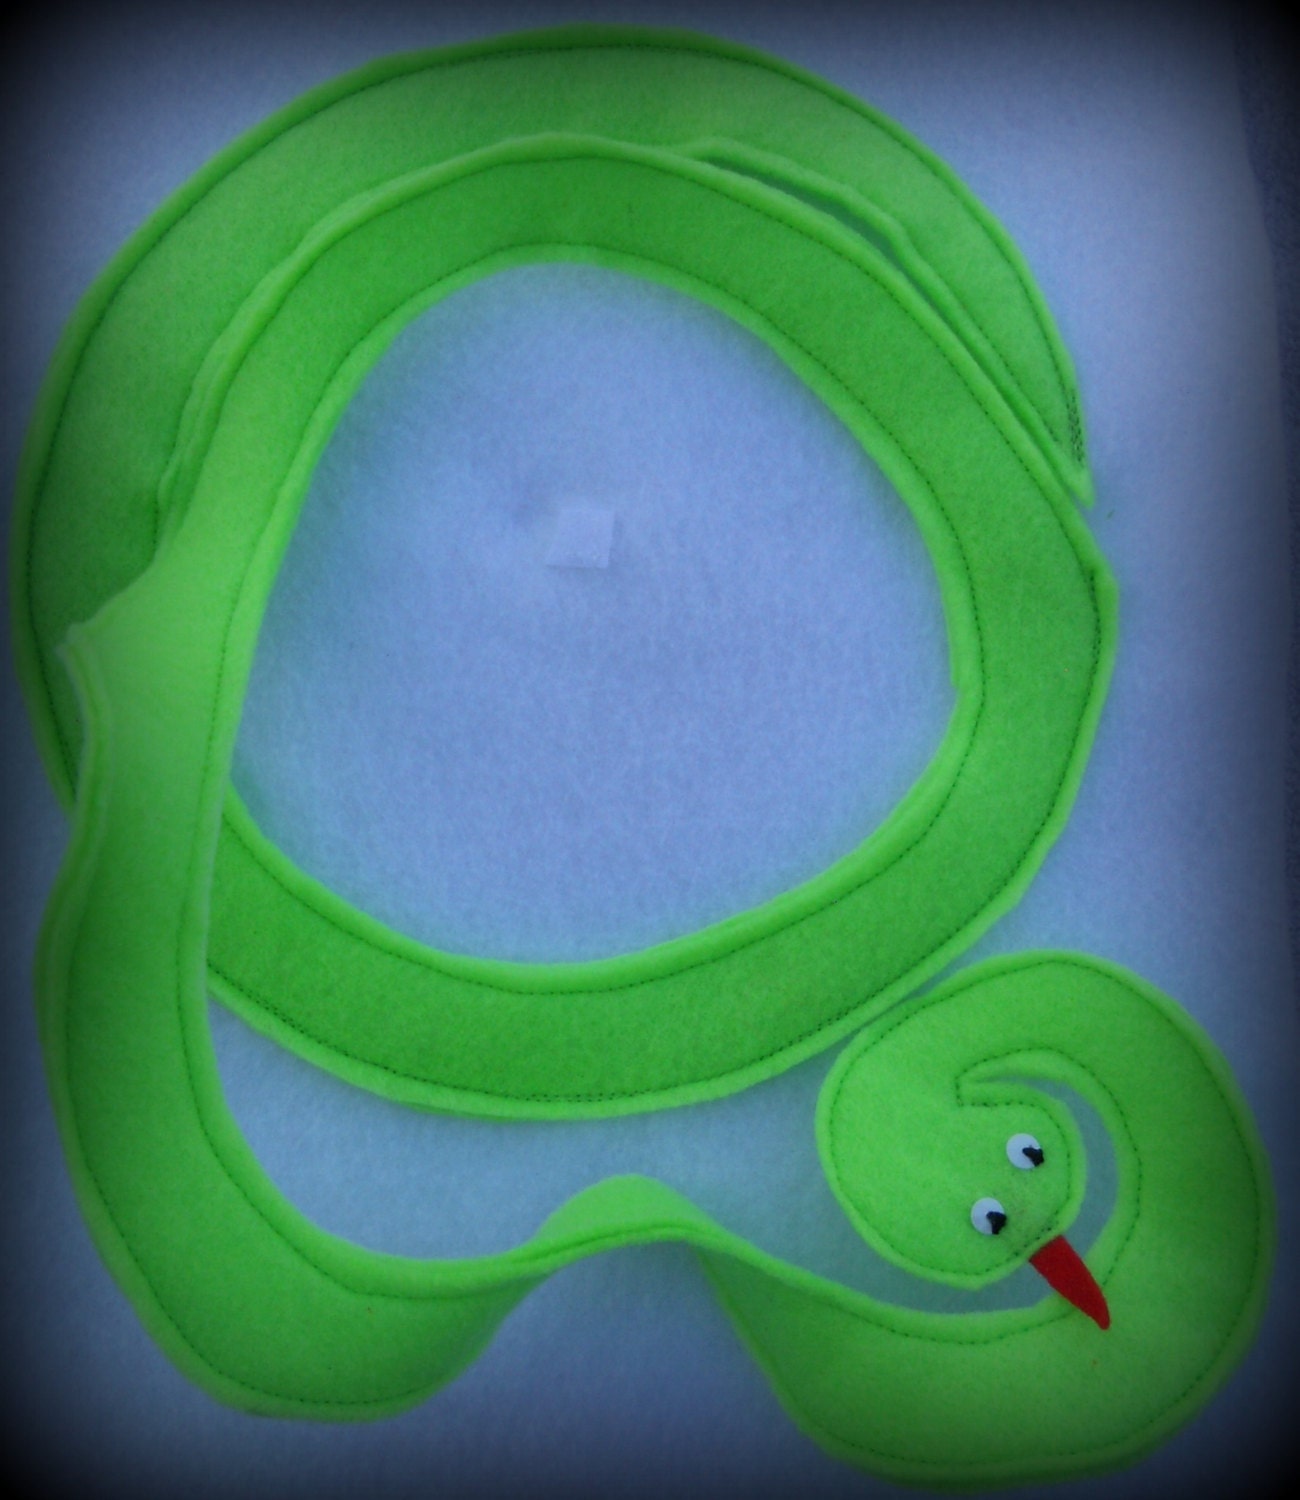
Snake Page for Create Your Own Quiet Book


Since babies like to touch things long before they can actually do them, I like to have a lot of different "feels" on each page.

So, using the basic idea I took it a few steps further.

My Snake in the Desert Quiet Book Page

  • I added rickrack and sew-on google eyes (I use dental floss or fishing line to sew on eyes, beads, buttons, etc.  so there is no chance of them coming loose and creating a choking hazard.)
  • I saw a darling alligator page, with a zipper jaw, that had a simple bird perched on the gator's head.  I didn't want to do the gator but I loved the bird so here he is!
  • I am not sure a ladybug* is a desert dweller but I had some and I thought they were fun.
*I use lots of "foamies" stickers on the pages because there are so many different fun ones BUT
I don't rely on the sticky part (except to hold them in place as a sew around** or over** or through** them). 


** Around them with a whip stitch, over the narrow parts with an overcast stitch, or through them as you see the bead spots on the lady bug.  (simply clean the needle with rubbing alcohol to remove the sticker substance after you have finished sewing through the foamies.)

Because I am a creative cheapskate I search the thrift shops for things I can use. (sometimes I find something that has me creating a way to use it.)  I make it a goal to never pay full price for anything. I always wait for a sale ( the 9x12" felt pieces were on sale for 20 cents each) or use their coupons when I buy something at the expensive craft stores. And, I always check the dollar stores first, followed by the discount stores.  The cute little dimensional stickers were just a dollar a package at Wal-Mart ---- and they had many different types.  The "foamies" brand stickers above were purchased with a 40 percent off coupon. The large ladybug was from a packet I was given as a gift because my friend knew I loved them. 

Because figuring out how to do the snake was a bit challenging I am going to provide 
some illustrations and basic instructions.
Step 1
  
Draw a rough pattern on a piece of white paper.  I have a oval crock pot and the lid provided the perfect outer line.  

Place a sheet of tracing paper over the original pattern and trace it.  (Actually I had to do this 12 times since I am making 12 books.)

Place two different colors of 9x12 felt together and pin the tracing paper pattern on top of the two.

Step 2
Notice I don't center the pattern on the piece of  felt because I want as much felt left over as possible to use for other things. 

Carefully sew around the outline, around the snake, and then once again, a very short distance away from the first stitching.  

When sewing most items to the backing page it is not necessary to match the bobbin thread with the top thread because the bobbin thread will not show.  For the snake you want to have the top thread match the top of the snake and the bobbin thread match the color of the belly of the snake, since they will both show.

The two rows of stitching creates the narrow "path" where you cut the snake. Again, carefully, cut along the path between the rows. 

When sewing, I leave the mouth area of the head open so I can reach in and sew on the eyes and insert the tongue after the snake is cut out.   Then I whip stitch that area closed.

The most tedious part comes after the sewing and cutting! You must tear the paper away. Some comes off in fairly large pieces, some can be scraped off with a fingernail and you may have to use tweezers for the tiny remaining pieces, being careful not to catch the stitching. Be patient ---- they will finally all be gone, I promise.

Next Steps

Coil the snake on the page. 
Sew (by machine or hand, your choice) along a portion of the tail to keep him in place.
Sew small pieces of  Velcro type hook and loop to the underside of the head and the matching place on the background so the snake will stay coiled during non-play times.

The snake can do more than just coil and uncoil.   He can reach out and check out the bird and ladybug. (or I guess pretend to consume them!)

Still I needed more.

I didn't want to leave the area under the snake bare. But, I couldn't decide what I "wanted to be discovered" when the snake was uncoiled. I considered several different things ---- and rejected them. 

Until. . . 

 "foamies" came to the rescue!


Remember back to my first quiet book post when I said there would be ways for Dave to help with this project?  He questioned the plain Velcro circle in the middle of the critters (it's matching circle is sewn to the underside of the head to keep the snake coiled).  I didn't know what to do with it so, until then, I had chosen to just ignore it. 

Thanks to Dave's creativity the circle is now a little turtle.

Sunday, July 14, 2013

Raspberry Chipotle Sauce. . . Quick and Easy

Ever have some one drop in and you want to offer a quick snack?

The following is a great change from basic cheese and crackers ---- although it is, basically, cheese and crackers.

Costco warehouse store sells a great raspberry chipotle* sauce. The drawback is,  like most Costco products, it is packaged in sets of two large bottles --- about 32 ounces each!  While awfully good, 64 ounces is an awfully lot of something where a little goes a long way.

(*I thought chipotle (or chilpotle) was a type of chili pepper but learned it is an Indian word meaning smoked chili and is a smoke-dried jalapeno.)

 It is pungent yet I don't think it is as hot as a plain jalapeno. Plus it has a wonderful flavor and not just heat. Still, it doesn't take much to make its point.

Get Ready --- Go!  (there is no need for it to "get set"!)

Step 1

Simply drizzle the sauce over a block of softened cream cheese and serve with wheat-thin-type crackers.

Step 2

Enjoy the unusual treat and the compliments.

MAKE YOUR OWN!

You can easily replicate the sauce by mixing the desired amount of a commercial raspberry (or any berry) jam and a very small amount of chipotle powder. I buy mine, an ounce at a time, in the bulk spice section.  Start with just a tiny amount of powder, tasting as you go, until it is the "heat" you like.

That's it!

For further savings, I make my own raspberry-peach jam, using fresh peaches and frozen raspberries.  This combination pairs perfectly with the chipotle powder. 

Check it out at 

http://thecreativecheapskate.blogspot.com/2011/08/making-jam-with-sweet-juicy-ripe.html

Raspberries clipart + Peaches clipart+

 If you prefer to use canned peaches, along with the frozen raspberries, check this out

http://thecreativecheapskate.blogspot.com/2012/01/making-jam-and-jelly-out-of-season.html

Often, you can duplicate a commercial product, by simply trying.  

'til we eat again,

I am Simply, Gail

Tuesday, July 9, 2013

Orange Julia --- as good as the original and . . . my first Quiet Book page

I have been making the following for many years and can't believe I haven't shared it with you.

It's better than plain orange juice (which is great all by itself) and easily lives up to it's expensive commercial counterpart.  Plus it is quick and simple to make.

It's 6 p.m. and still 105 degrees outside.  When I finish this post I think I will go make up a batch.  How 'bout joining us?

Orange Julia

In a blender combine:

One-half of a 12 ounce can of frozen orange juice concentrate, thawed but not reconstituted
1 cup water
1 cup milk
1/3 cup sugar
1/2 tsp. cream of tartar
1/2 tsp. vanilla
10-12 ice cubes

Place all but ice cubes in blender and mix. Add the ice cubes, a few at a time, until crushed. Serve immediately.

Peek-A-Boo Quiet Book Page

In my last post I mentioned the huge task I am undertaking -----  making 12 quiet books to leave for our posterity --- one for each of our grandkids to have for their children when that times come. 

When I first started making these 48 years ago, the page I am about to show you was simply a large felt face with felt hair and sewn on eyes and mouth. The mittens were also cut and sewn from double thicknesses of felt so the children could put their hands inside of the mittens and open them for peek-a-boo.

This time I found little mittens on clearance for 50 cents a pair, a little cheaper than the same amount of felt would cost.  I stitched them 3/4 of the way across the lower side of each cuff so they could put their hands in them.

I added the heart because it fit the "theme" and was quick and easy to do.


Instead of a face I cut  a clear plastic pocket from a heavy sheet protector (I used both sides to make it even more sturdy), and used a wide zig-zag stitch around three sides leaving the top open so a photo could be inserted.

Before I sewed the pocket on I inserted the little caption "My Family Loves Me" I made on the computer.


Tuesday, July 2, 2013

A Make-Up Magnet and . . . a Quiet Book?

Wow, I guess you would have to see my make-up basket to
truly understand how much I appreciate this.  


I just had to share this creative, simple, and relatively cheap make-up container with you. Thanks, Laura, for sharing it with "the world."

http://laurathoughts81.blogspot.com/2011/03/make-up-magnet-board.html

HOW I FOUND THIS MAKE UP MAGNET and/or 
THE JOYS OF SHARING

I happened on Laura's blogspot as I was searching for Quiet Book ideas.  Laura has made some terrific ones that she shows on her site.

Blogs, and Pinterest*  are wonderful ways to learn and to share.  I am very thankful for all who take the time to do so. I learn so much.

(*even though I don't know how to use it; even though our daughter, Heidi,  showed me how to use it, and  even added a few of my things; even --- in spite of all that---I quickly and completely forgot how to use it!)

In case you are not familiar with Quiet Books, let me describe.  It is a cloth book, usually made from felt, that contains quiet self-entertaining activities for toddlers and tots. Activities that teach as well as entertain. The books are not everyday books but kept for  special times when the child is required to be still, both body and mouth, like in Church, a meeting, a waiting room, etc.  Quite a challenge. Quiet Books can be a life saver for the child as well as the parent.

I made them for our children many years ago.

These days many of my friends are busy knitting or crocheting afghans and baby blankets, or quilting....quilts, to leave, carefully stored away,  for their great-grand posterity---Those that will still be coming after they have long gone.

What a great idea. Something I had never even thought of doing. Probably, at least partly, because I don't know how to knit, crochet or quilt. Even so, unless I am reading (which I love) I don't like to sit still. My new undertaking will solve that.

MY/OUR POSTERITY PROJECT

I know there will be many ways Dave will be able to help so it is our project.  Putting in grommets comes immediately to mind!


Back then, and still now, the books had bows to tie, shoes to lace, ribbons to weave, buttons to button and zippers to zip, etc. Also, back then they had clocks that had hands you could move and telephones with a cord and receiver so the child could dial the numbers and pretend to talk  Ooops! What kind of clock has hands these days? What is a telephone with a dial and a cord? The dawning of technology, as far as quiet books are concerned, was an eye-opener---maybe even a page-turner, if I can be so corny.

One daughter-in-law encouraged me to still include the clock.  I declined. We already know junior and high school kids that can't read an analog clock NOW ---- they will be ancient history in the futures of these quiet books. One of the sites' quiet book had a cute cell phone page and another had a microwave page.  Great for today and tomorrow.  Probably not great for the in-the-future tomorrows I am working towards.

I have purchased/found/adapted/repurposed most of the materials for 12 quiet books!! Yep, 12!  I figure the practical way to do it is to complete each page, 12 times.  Then move on to the next page.  Doing it that way will keep me from getting so bored I won't finish 12 complete books (I know I will get very bored before each group of 12 identical pages are done.

and

if I die before they are finished, each family will have at least a few pages, rather than a few families having a full book with others having none. I'm not anticipating this but I am a realist, today is my 71st birthday, and you just never know.

I have decided to make a sample of each page first so I can work out the kinks, and list and obtain the items still needed.

I will probably post them as I go along. As I have used ideas from sites and adapted them to fit my needs; hopefully my pages can be helpful to others.

and

I ALSO RECOGNIZE THAT. . . 

Sometimes, Simply Gail gets carried away.  As I've mentioned before, our oldest son, Romm, suggests I refer to myself  as Simple Gail.  (what a difference "ly" makes!) Maybe this project is one of those times.

I hope not.


Saturday, June 29, 2013

A Little Prep Goes a Long Way Towards Cool, Refreshing Summer Drinks . . .

Ready to Enjoy in about a Minute!

It is 4:00 in the afternoon and 
our thermometer currently
registers 114 degrees!

lowering sun shining
(same as yesterday--same forecast for tomorrow) 

And the thermometer isn't in the direct sun!!

It doesn't take much time to chop fresh fruits and stock the freezer.  Whenever beverage-friendly produce is on sale I buy a lot. This week it was 30 pounds of bananas at 39 cents per pound ---  $12.00. The regular price of bananas range from 53 to 69 cents per pound, depending on the store.

We use frozen bananas as the base for the majority of our smoothies and icy drinks.

I know many people freeze bananas whole and break them up when it is time to use them.  I don't want my hands or our blender to work that hard! We do it simply by . . .

Using:

  • quart-size zip lock freezer bags
  • one wide mouth container to hold the bags upright if desired. (I like to fold the edges of the bags down, so the area to be sealed doesn't get banana goop on it.)
  • one damp washcloth to wash said goop from hands, as needed.
  • one knife
I thinly slice 2 bananas into each bag. After doing several bags, I wipe off my hands, and one at a time, lay each bag flat on the table, seal it about 3/4th of the way closed, and using the flat of my hand, smoosh the bananas. This spreads the bananas throughout the bag and pushes out the extra air at the same time.  I seal it the rest of the way. Stack the flattened bags and freeze them. 

To use, I bend the unopened bag back and forth to loosen the frozen bananas and break off the amount I need. When I am making drinks for the two of us I usually use the entire bag.

I also reuse the bags --- over and over and over. I thoroughly rinse them out, drape them over a faucet to dry, fold them and store them in an empty cardboard tissue box in a drawer.

mix 2.gif
Currently our favorite cool-off drink is simply one package of the frozen bananas and some frozen cantaloupe cubes blended with apple juice to achieve the consistency you like. 

I use different juices and different fruits and berries for   variety. Sometimes, canned pineapple. Sometimes orange juice.  Occasionally, unflavored sparkling water. You are limited only by your likes and your imagination! 

If you want more ideas, check under beverages in the recipe list on the right hand column of this blog.

FLAVOR YOUR WATER!

You can freeze lemon slices and add a few to a pitcher of cold water.  Fresh (not frozen) cucumber slices, added to cold water also makes a refreshing drink. Both are 100 percent calorie free.

I buy frozen raspberry pieces in 10 pound blocks, defrost slightly so I can  divide the block into portion-sizes and freeze them in the zip-lock bags.

Grapes are a delicious snack to eat frozen---or to garnish a slushy fruit drink. Simple wash and stem them and spread them on a cookie sheet and freeze. This keeps them separated after you bag them. 

BAG THE ICE!

We don't have an ice maker and I hate to bother with ice cube trays so I do the same with pebble ice. Pebble ice is what butchers use in their fresh meat displays. In our local store the pebble ice machine is actually located in the butcher department. Years ago, when I would ask to buy a plastic grocery bag full they would just give it to me. Now I buy it in the freezer section, right next to the other bagged ice.

I buy a large bag, divide it as above and freeze those bags. They are perfect!  Grab the portion-sized bag, bang it on the counter once or twice and the ice is back to its pebble form. (Even when I have left the large bag in the freezer for weeks before dividing it, it still easily breaks into pebbles. Not so with crushed ice.)

HAVE A GREAT DAY!

I am Simply, Gail and I hope you find my postings helpful.