
. . .things our kids and grandkids would take on a camping trip. Except, I forgot the Lacrosse sticks and the guitars!
Here are the steps I took:
1. Cut a tent out of felt. The section on the bottom was added because I goofed and had to make it longer. It worked out however, because the little extra length makes it easier to grasp and open the zipper.
The extra work of a tent window would not be necessary except a) I wanted to feature Puppy (explanation below the next photo) and b) I had a partial bolt of "screening-type" material I bought months for some unknown reason.
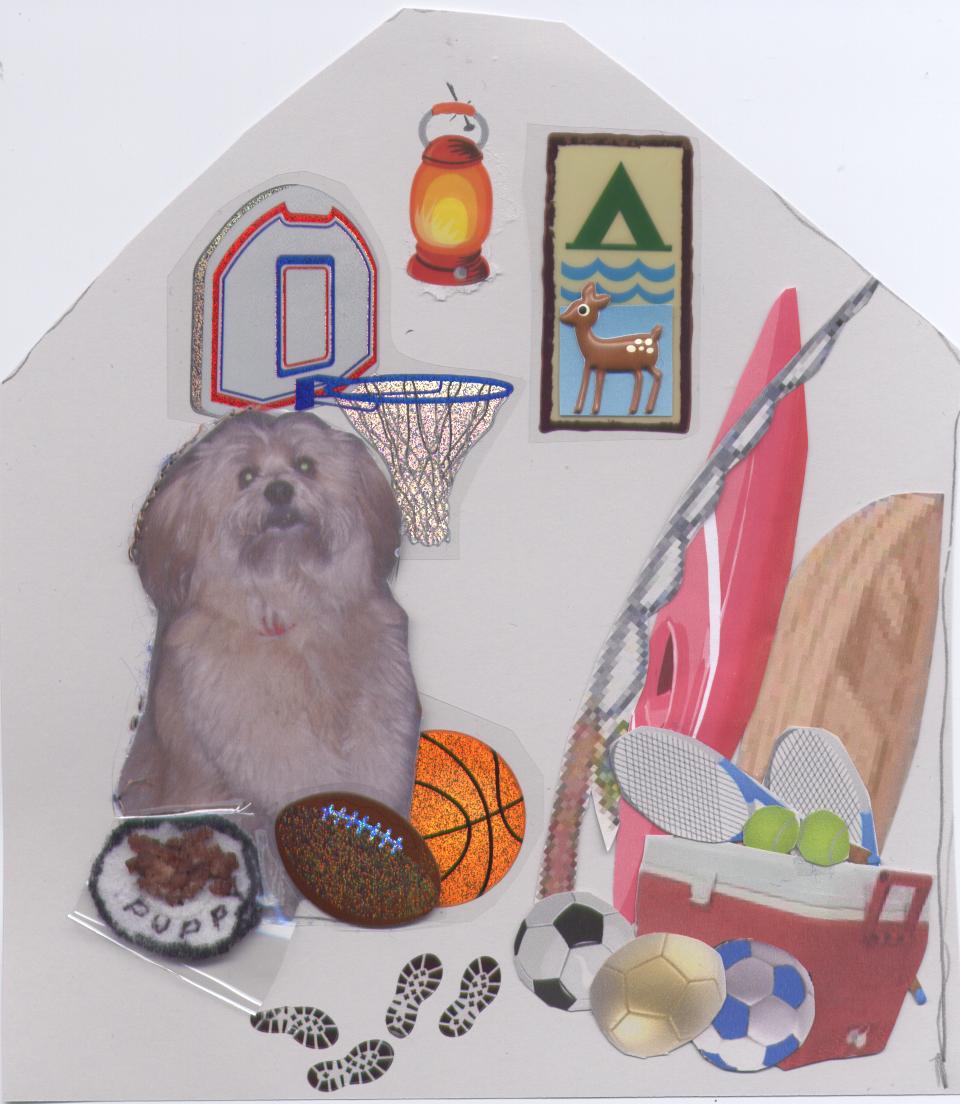
2. Made the tent interior on a piece of card stock or heavy paper. I use free computer clip art and stickers, sizing them, either larger or smaller, when necessary.
 |
| $ Note: the same Sticko brand stickers I pay $1.00 for at Wal-Mart cost $1.99 at JoAnn's. |
The photo of "Puppy" our shelter find is included in memory of him. He was three or four when we adopted him and he blessed our lives for 12 years. If you want to learn more about him, simply type Puppy in the upper left hand search box on my blog. You will learn how to make a dog coat from a 50 cent thrift shop pillow sham and more ---- 4 posts in all.
You can see Puppy's plate of food is enclosed in plastic. That is because I used cooked ground beef to get the look I was after!
3. Photo copy the completed layout and place it in a clear plastic page protector (or you could cover it with clear plastic contact paper or laminate it), basted around the edges because the plastic is slippery, and cut away the extra.
4. Securely sewed the zipper into the tent. To keep the zipper from slipping I took the time to hand sew it before machine stitching. I found it easiest to put the zipper in the one-piece tent and then slit the opening.
5. Placed the plastic-covered interior layout where I wanted it it on the felt page. Again I basted first, to keep it from slipping.
6. Added the foreground. I used a piece of sand paper for texture as the sand and topped it with felt grass. I just kind of wing it as I go.
I was really pleased how the zig-zag stitch connecting the sandpaper and the felt really gave it a well-groomed lawn look!
7. Positioned the tent over the interior and sewed around the sides and top.
8. I completed the page with a sticky back owl (which, of course, I sewed around for added security) and didn't do a very good job trying to put feet on it; some star-looking beads, and a glittering moon from a sheet of fancy stuff found in the felt square section of Hobby Lobby.
'til we stitch again,
I am, sometimes less simple than, Simply, Gail
4. Securely sewed the zipper into the tent. To keep the zipper from slipping I took the time to hand sew it before machine stitching. I found it easiest to put the zipper in the one-piece tent and then slit the opening.
5. Placed the plastic-covered interior layout where I wanted it it on the felt page. Again I basted first, to keep it from slipping.
6. Added the foreground. I used a piece of sand paper for texture as the sand and topped it with felt grass. I just kind of wing it as I go.
I was really pleased how the zig-zag stitch connecting the sandpaper and the felt really gave it a well-groomed lawn look!
7. Positioned the tent over the interior and sewed around the sides and top.
8. I completed the page with a sticky back owl (which, of course, I sewed around for added security) and didn't do a very good job trying to put feet on it; some star-looking beads, and a glittering moon from a sheet of fancy stuff found in the felt square section of Hobby Lobby.
 |
| I considered writing Whooo by the owl but I'd hate to overdooo it! |
'til we stitch again,
I am, sometimes less simple than, Simply, Gail
No comments:
Post a Comment